Mechanical Keyboards: A Beginner's Complete Guide to Switches, Layouts, and Buying Your First Board
The mechanical keyboard hobby has a high noise floor — a lot of terminology, a lot of opinions, and a lot of people who will tell you that whatever you buy is wrong. Here is what you actually need to know to buy a keyboard you will enjoy, without falling into a rabbit hole before you have even started.
- Switch feel (linear, tactile, or clicky) is a personal preference. Try a switch tester before buying a keyboard if you can.
- Hot-swap keyboards let you change switches without soldering. Worth paying a small premium for as a beginner.
- The 75% form factor is the best starting point for most people: compact but with arrow keys and a full function row.
- Keycaps are a separate purchase from the keyboard itself. Budget an extra $30 to $50 if aesthetics matter to you.
- The $80 to $130 price range is where keyboards stop feeling cheap. Below that, compromises become noticeable quickly.
What Makes a Keyboard Mechanical
A mechanical keyboard uses individual physical switches under each key rather than a rubber membrane. Each switch has a spring and mechanism that actuates at a specific point and force, giving each keypress a consistent physical response.
The differences you will notice: consistent feel across all keys, a longer lifespan (most switches are rated for 50 to 100 million keystrokes, compared to 5 to 10 million for membrane), and the ability to customize nearly every part of the keyboard.
Switch Types: The Most Important Decision
Switches fall into three categories based on feel:
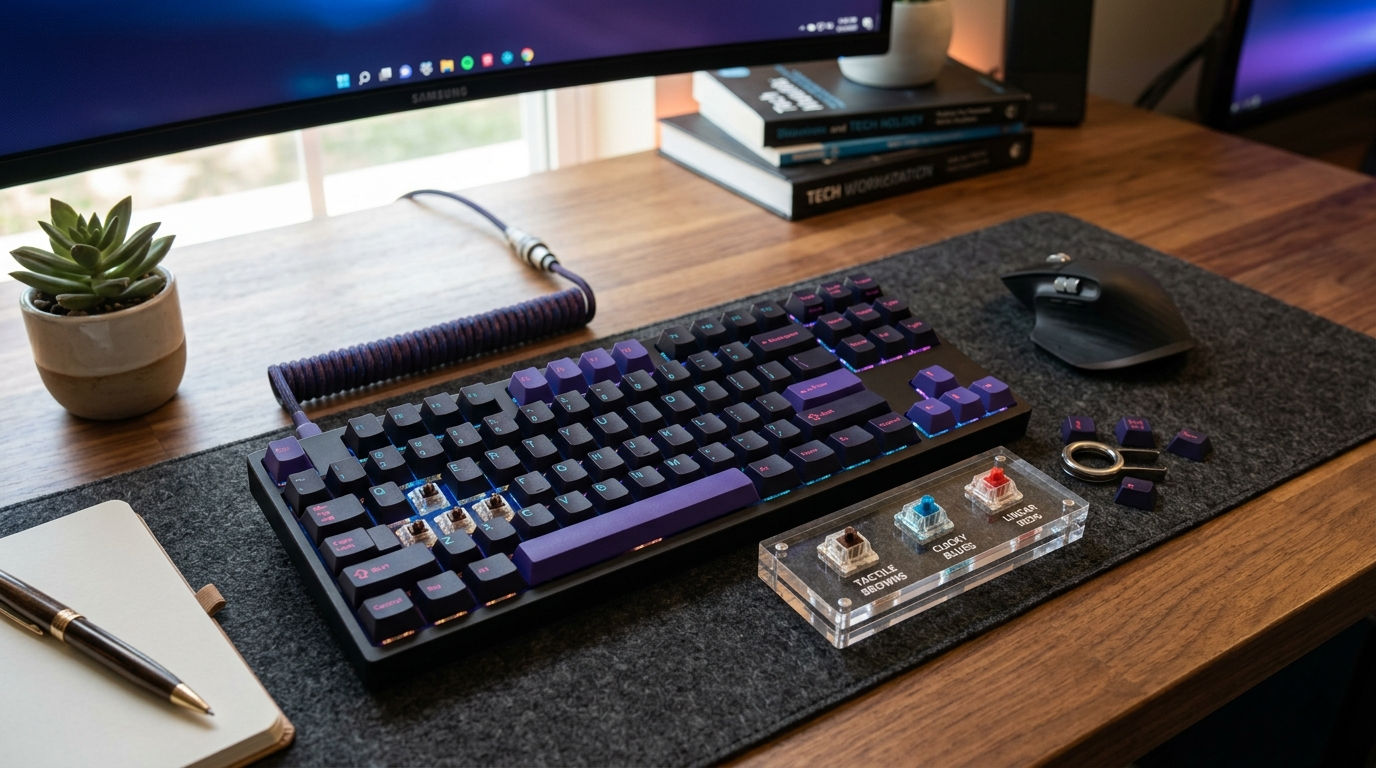
Linear: Smooth keystroke from top to bottom with no tactile bump or click. Examples: Cherry MX Red (light), Black (heavy). Good for gaming and fast typing. Quieter than other types.
Tactile: A bump partway through the keystroke gives you physical feedback at the actuation point. Examples: Cherry MX Brown (light tactile), Clear (heavier). A middle ground that works for both typing and gaming.
Clicky: A tactile bump plus an audible click. Examples: Cherry MX Blue, Green. Satisfying to type on, and noticeably louder than the other types.
Before you buy: A switch tester sampler costs $15 to $25 and lets you try 10 to 20 different switches before committing to a keyboard. This is worth the investment.
Form Factors: Which Size to Buy
| Size | Keys | What is removed |
|---|---|---|
| Full size (100%) | 104 | Nothing |
| TKL (80%) | 87 | Numpad |
| 75% | ~84 | Numpad, part of nav cluster |
| 65% | ~68 | Numpad, function row, most nav |
| 60% | ~61 | Numpad, function row, arrow keys |
For most beginners: 75% is the sweet spot. You keep the arrow keys and function row (F1 to F12), which matters for productivity and most games, while gaining significant desk space over full-size.
If you primarily game: A 65% or 60% moves your mouse hand closer to center, which some people prefer for fast-paced titles.
If you regularly use a numpad: Go TKL or full-size. Do not fight your existing workflow.
Hot-Swap vs. Soldered
This spec matters more than most beginners expect:
Soldered: Switches are permanently attached. Changing them requires desoldering, which takes time and some skill.
Hot-swap: Switches pull out and slot back in seconds with no tools. Try different switches, replace a broken one, or change the feel of the keyboard whenever you want.
Pay the extra $10 to $20 for hot-swap. It makes the keyboard genuinely future-proof for someone still figuring out their preferences.
The Best Beginner Keyboards
These are widely recommended entry points that hold up well over time:
Keychron K2 or K3 ($90 to $100) 75% layout, hot-swap option, wireless or wired, compatible with Mac and Windows. Available with Gateron or Keychron switches. The most commonly recommended beginner keyboard for good reason.
Keychron Q2 ($130 to $160) Aluminum case with gasket mounting, which makes the keyboard quieter and gives keypresses a bouncier feel. A real step up in build quality without entering enthusiast pricing.
NuPhy Air75 ($95 to $110) Wireless, slim profile, excellent for Mac users. More polished aesthetics than the K2 if that matters to you.
Skip the budget "mechanical keyboards" under $40 on Amazon. Most use low-quality clone switches that feel nothing like real mechanicals and will give you a wrong first impression of what the hobby actually involves.
Keycaps
Most keyboards ship with acceptable stock keycaps. Aftermarket keycaps are primarily an upgrade for aesthetics and texture.
Two things to know:
- PBT vs. ABS: PBT is the better plastic. Thicker, does not develop a shine with use, and has better texture. ABS is more common in stock and budget sets.
- Profile: The shape and height of the keycap rows. Cherry profile is thin and popular. OEM is slightly taller and common on stock keycaps. SA is tall and rounded.
A PBT keycap set in Cherry profile runs $30 to $50 and fits most standard layouts. Worth considering once you have had the keyboard for a few weeks and know you like it.
Easy Modifications Worth Knowing
Once you have been using your keyboard for a while:
Band-aid mod: Small pieces of bandage material placed under the PCB stabilizers to reduce rattle. Free, takes about 10 minutes, and produces a noticeable improvement in the sound of the spacebar and larger keys.
Foam dampening: Adding a thin foam layer inside the case reduces the hollow sound common in budget keyboards.
Lubing switches and stabilizers: Adds $10 to $20 in supplies and about an hour of time. Transforms the feel and sound noticeably — stabilizers (spacebar, enter, shift) benefit most.
None of these are necessary right away. But they explain why two keyboards with identical specs can feel and sound completely different.
The mechanical keyboard hobby can go as deep as you want — custom builds, group buys, hand-wired PCBs, artisan keycaps. Or you can buy a Keychron, enjoy it for years, and never think about it again. Both are valid.
Official Resources
- Keyboard University — community-maintained educational resource covering switches, stabilisers, keycaps, and builds in depth.
- r/MechanicalKeyboards Wiki — the most comprehensive beginner FAQ and buying guide, maintained by one of the largest keyboard communities online.
Are more expensive switches better?
Can I use a mechanical keyboard for gaming?
What is the difference between Cherry MX and other switch brands?
How do I clean a mechanical keyboard?
Is it worth building a custom keyboard instead of buying pre-built?
This guide gets you started, but if you're still weighing whether mechanical keyboards is the one to commit to, the quiz checks it against your real life — your available time, budget, and the kind of thing you actually enjoy — and suggests a few alternatives in about four minutes. Free, no account needed.
The HobbyStack editorial team researches each guide using practitioner communities, published resources, and direct input from active hobbyists. Every guide is reviewed for accuracy before publication and updated when practices change.
About our editorial process →