
Woodworking
Ideal for those who like carefully measuring and making tiny adjustments to fit things.
0 usersCommunity fit
You end up with something you can hold.Teens and up
Wondering if Woodworking is your kind of thing?
See your match — 2-min quizThere's a quiet satisfaction in a joint that slides together snug with no glue, and a particular sting in the cut you measured twice and still got wrong.
Early projects come out heavy, gappy, and a little crooked, and you'll burn money on lumber you turn into expensive kindling.
But furniture you built that actually holds weight, sanded smooth and finished, is a stubbornly real thing to own.
Is this for you?
Honest tradeoffs before you spend money or clear space.
You'll enjoy this if
- Would measure twice and make tiny adjustments until a joint slides snug.
- Sanding a surface smooth through the grits for hours feels meditative to you.
- Owning furniture you built that actually holds weight is worth the lumber.
Not for you if
- One mismeasured cut leaving a gap you can't un-saw would frustrate you.
- Constant sawdust and the noise of shop machines would wear on you.
- Repeating the same precise cuts and sanding strokes bores you fast.
Tends to suitThe Maker
What to expect
Rough shape of the first few months — not a promise, a mental model.
- first session
You measure twice, cut once, and it's still a hair off — and a hair off means a gap in the joint that you can't un-saw. The board that looked flat at the lumber yard has a subtle bow that shows up the moment you try to glue two of them together. You make expensive kindling and learn more from it than from any video.
- first month
You complete a first project that holds weight — a small shelf, a simple box with a lid that actually fits — and you finish the surface properly: sand through the grits, apply a finish, let it cure. It's heavy and a little overbuilt, but it's real furniture you made.
- few months in
Your joinery is tightening up: mortise-and-tenon or half-lap joints that close without gaps, dovetails you'd let someone look at. You're reading wood movement into your designs, choosing grain direction before you cut. The shop smells like fresh shavings and the project in the clamps is the best thing you've made so far.
What people say
Hugely satisfying to make something solid you can actually use, but the start up is real. Tools, space, and dust all add up, and your first cuts will be wonky no matter how careful you are.
Tip: Start with hand tools and small projects. A cutting board teaches more than you'd think and needs little.
Just started · HobbyStackGenuinely meditative once you stop rushing. The honest downsides are noise, sawdust everywhere, and needing somewhere you're allowed to make a mess. Measuring twice really does save the wood.
Tip: Buy decent measuring and marking tools. Accuracy at that stage fixes most beginner mistakes.
A few months in · HobbyStackFurniture you built lasting for years is a quiet kind of pride nothing else gives me. Just know good tools are an ongoing investment and sharp blades are safer than dull ones.
Tip: Learn to sharpen your tools properly. A sharp chisel is safer and far more pleasant to use.
Years in · HobbyStack
Woodworking guides
3D Printing for Beginners: Which Printer to Buy and How to Get Your First Print Right
Modern 3D printers work reliably out of the box — the era of constant calibration battles is largely over. This guide covers which printer to choose, what filament to start with, where to find models, and the slicer settings that actually matter.
Common Woodworking Mistakes Beginners Make (and How to Fix Them)
Most woodworking frustrations come from the same small set of avoidable mistakes. This guide covers the errors beginners make most often and gives you practical ways to fix or prevent each one.
Woodworking for Beginners: Your First Steps into the Workshop
Woodworking is one of the most rewarding hands-on hobbies you can pick up. This guide covers the tools, techniques, and first projects that will take you from complete beginner to confident maker.
Leatherworking for Beginners: Tools, Leather Types, and Your First Projects
Leatherworking produces professional, durable objects from your first session. This guide covers which leather to buy, the tools that actually matter, and a project progression that builds real skills from day one.
Gear guides
Best Cordless Drill for Woodworking 2026: Ryobi vs DeWalt vs Milwaukee
A cordless drill is the first power tool most woodworkers buy — it drives screws, bores pilot holes for joinery, and assembles your projects. The trick is choosing the right one for a wood shop without overbuying. Here are three picks, and the battery-ecosystem decision that matters more than the drill itself.
Best Hand Saw for Woodworking 2026: Japanese Pull Saw vs Western
A good hand saw is the most-used tool in beginner woodworking, and the first decision is the stroke: Japanese pull saws cut on the pull (thin kerf, easy control) while Western saws cut on the push (faster through rough stock). Here are three picks and which stroke fits the work you'll actually do.
Best Miter Saw for Woodworking 2026: Metabo vs DeWalt DWS779 vs Festool Kapex
A miter saw makes the fast, accurate, repeatable crosscuts that turn rough boards into furniture parts — the second power tool most woodworkers buy after the drill. Here are three picks, from an honest sub-$160 starter to the finish-carpenter's dream, plus how much saw your woodworking actually needs.
Best Beginner Woodworking Chisels 2026: REXBETI vs Irwin Marples vs Narex
A set of bench chisels is one of the first hand tools every woodworker needs — they pare joints, clean up saw cuts, and do the detail work a saw can't. Here are three beginner picks you can buy on Amazon, from a cheap set that includes its own sharpening stone to a buy-it-once Czech set, plus the four sizes you actually need.
From the blog
- Dopamine Hobbies: 15 That Reset Your Brain (Without a Screen)
- Hobbies for ADHD: 13 Activities That Match How Your Brain Works
- Hobbies for Introverts: 16 Solo Activities That Actually Recharge You
- Retirement Hobbies: 15 Ways to Fill Your Time With Things Worth Doing
- Hobbies You Can Do With Your Hands: 18 Crafts to Get You Off a Screen
- Indoor Hobbies for Adults: 18 Things to Do When You're Stuck Inside
- The Ultimate List of Hobbies: 200+ Ideas Sorted by Type
- Productive Hobbies: 14 Activities That Actually Leave You With Something
- Hobbies That Make Money: 10 That Can Actually Pay You Back
- Hobbies for Men: 20 Activities Worth Starting
- What Hobby Should I Try? A Practical Framework for Finding the Right Fit
- Hobbies for ADHD: Activities That Actually Hold Your Attention
Projects to get you started
Real things to make, beginner to advanced. Start with whatever appeals — nothing's locked, no set order.
Beginner
2 projectsIntermediate
2 projectsAdvanced
1 projectThe full kit
The essentials run about $1033 — you don't need it all to start: each project above lists only what it uses, and the first is often free. Links open Amazon (affiliate tag).
Circular Saw
DeWalt 20V MAX XR 7-1/4" Brushless Circular Saw DCS570B
~$199Buy

Miter Saw
DeWalt 12" DWS779 Sliding
~$449Buy

Cordless Drill
DeWalt 20V MAX XR DCD800
~$179Buy
Hand Saw
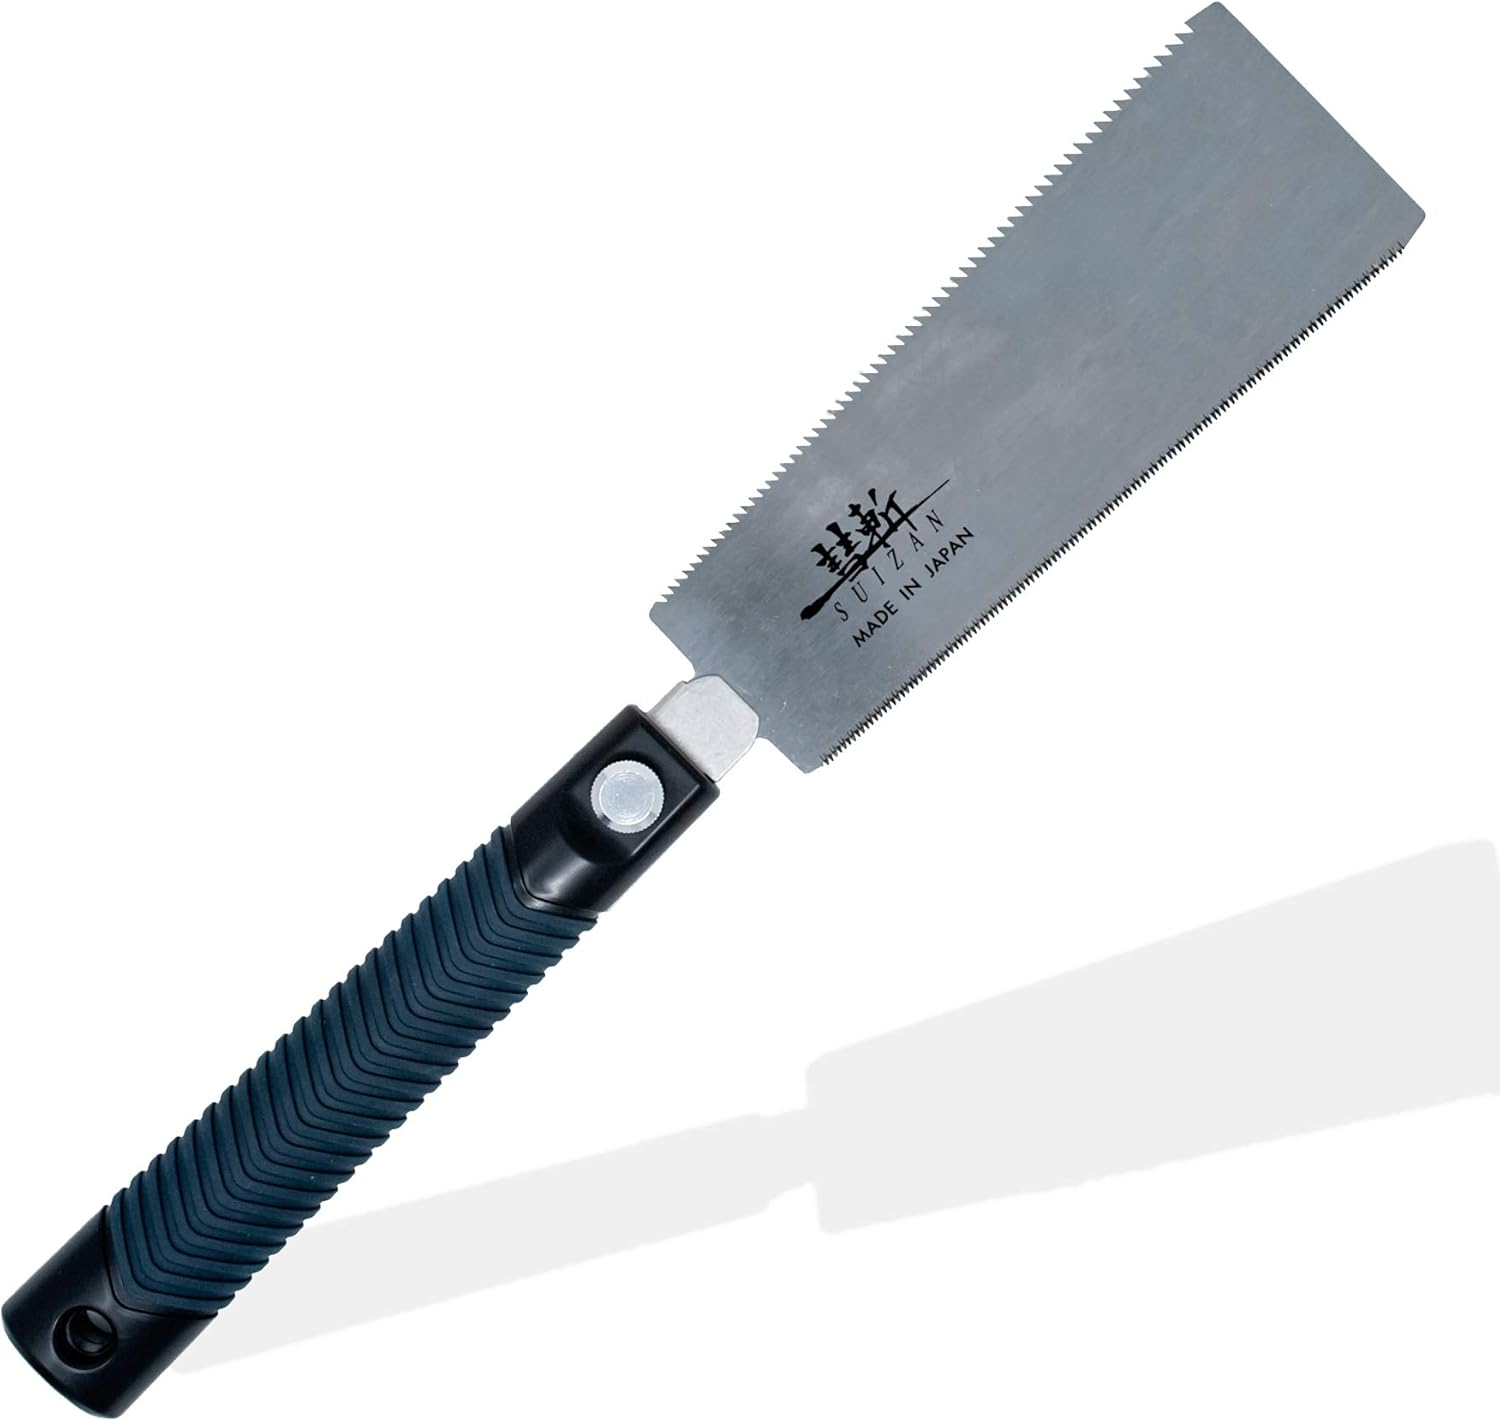
SUIZAN 7" Ryoba Pull Saw
~$32Buy

Chisels
IRWIN Marples 4-Piece Wood Chisel Set (1885164)
~$45Buy
Mallet
Narex Classic Beech Mallet 245g
~$28Buy
Marking & Squaring Tools
IRWIN Tools Combination Square 12 inch
~$22Buy
Clamps
Irwin Quick-Grip 6-inch One-Handed Bar Clamp (4-Pack)
~$38Buy
Measuring Tape
Stanley FatMax 25 ft Tape Measure
~$19Buy
Safety Glasses
HexArmor TechShield Safety Glasses
~$22Buy
Related hobbies
If Woodworking appeals, these share its shape — same kind of pull, different craft.


Frequently asked questions
How much does it cost to start Woodworking?
A solid starter setup for Woodworking runs about $1033 based on our curated picks — that covers the essentials without over-buying. Real spend varies by brand, condition (new vs. used), and what you already own. See the Tools & gear tab for the full itemised list with current pricing.
Is Woodworking hard to learn?
Woodworking has a genuine learning curve — expect months of regular practice before things feel natural. Early sessions can feel clunky, but that's normal. Most people find the progress itself motivating: there is always a clear next thing to improve. Starting with a structured lesson or class rather than self-teaching makes a meaningful difference in how fast you progress.
What do you actually need to start Woodworking?
The Tools & gear tab on this profile lists the recommended starter pick per category with prices and direct links. For a first session, focus on the Essential items only — add the Optional upgrades later if you stick with it. Many beginners borrow or rent before buying anything.
Can you do Woodworking completely on your own?
Yes — Woodworking is well-suited to solo practice. Most people do it on their own schedule without needing partners, clubs, or group sessions. That makes it easy to fit into a busy week, and your progress is not dependent on others showing up. Community is available if you want it, but it is entirely optional.
Can you try Woodworking before committing to it?
Strongly recommended. Look for intro classes, club open days, or single-session rentals — most areas have options. Many gear shops let you demo or rent equipment for a day. Starting with a low-commitment first session before buying anything is the standard advice from people already in the hobby: it tells you whether you actually enjoy it, not just whether you think you will.