Best Flush Cutters for 3D Printing (2026): The First Tool You Need
Flush cutters are the tool you reach for after every single print — trimming supports, snipping a stringy blob, cutting filament to a clean point before loading. They are also the tool most often destroyed within a month, because they look like small pliers and people use them to cut wire. One snip through steel puts a permanent notch in the blade, and after that they crush plastic instead of slicing it.
HobbyStack may earn a commission from links on this page at no extra cost to you. Our picks are chosen on merit; the commission helps fund the research.
- Flush means one side of the cut is left flat. That is the point — supports come off without a stub.
- These are for soft plastic only. Cutting steel, guitar string or hardened wire notches the blade permanently.
- A fine tip gets between a support and the part. A blunt nose cannot reach the cut you need.
- Cut supports away from you and wear eye protection — offcuts fly at speed.
- Buy two: one good pair for parts, one you do not care about for everything else.
 Xuron 170-II Micro-ShearA first pair$14Check price
 Our pickHakko CHP-170 (3 pack)Most people$28Check price
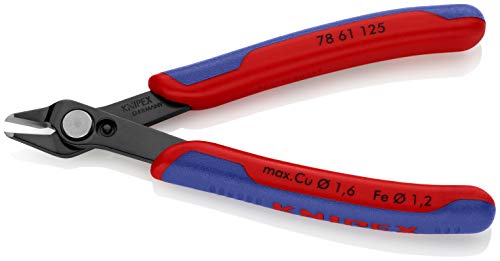 Knipex Super KnipsKeeping one perfect pair$31Check price
Flush, semi-flush and shear
The difference is what the cut face looks like afterwards.
Semi-flush cutters leave a small pointed pip on both sides of the cut — fine for general wire work, annoying on a printed part because you then have to sand the stub off.
Flush cutters have one flat face, so the side against your part is left level. That is why they are the standard tool for removing supports: the support comes away close to the surface rather than leaving a bump.
Shear cutters — like the Xuron design — work by bypassing rather than pinching, more like scissors than a wedge. That produces a very clean cut in soft plastic with almost no deformation, which is exactly what you want on a visible surface.
For printing, flush or shear. Semi-flush cutters will do the job and leave you more finishing work every single time.
Why one wire cut ends them
These blades are ground to a very fine edge and hardened for slicing soft plastic, not for shearing metal. Steel wire, guitar strings, paperclips and the steel core inside some cables are all much harder than the edge.
Cutting one puts a notch in the blade. It is often too small to see. From then on, every cut leaves a corresponding ridge in the plastic, and the two blades no longer close cleanly — so instead of slicing, they crush and tear.
The damage is permanent. These are not practically resharpenable at this size and geometry.
The fix is behavioural and cheap: keep a second pair of ordinary side cutters for wire, keep them somewhere obviously different, and never let the good pair near the electronics bench. A three-pack is popular for printing partly for this reason — one for parts, one for everything else, one spare.
 Best first pair
Xuron 170-II Micro-Shear Flush Cutter
A shear-cutting design rather than a pinching one, which means the blades bypass each other like scissors instead of wedging through the material. On soft plastic that gives a notably cleaner cut with less deformation, so a support comes off flat instead of leaving a squashed white stress mark. The tips are fine enough to get in between a support and the part, which is where most of the work happens. Made for electronics work, so it is comfortable in the hand for long clean-up sessions. It is strictly for soft materials — this design is more delicate than a standard cutter, not less, and one pass through wire will finish it.
What's good
- Shear action — very clean cuts in plastic
- Fine tips reach between support and part
- Comfortable for long clean-up sessions
- Inexpensive
What's not
- Soft plastics only — ruined by wire
- More delicate than standard cutters
- Single pair, so no spare for rough work
- Springs can weaken over years
 Best for most people
Hakko CHP-170 Micro Cutter
The cutter that turns up on nearly every 3D printing tool list, and buying three at once solves the problem this whole guide is about — one pair stays pristine for visible surfaces, one takes the rough work, and one is a spare for when you inevitably cut something you should not have. The tips are genuinely fine, so they reach into the awkward gap between a support and a curved surface where a blunter nose simply cannot. Light, sharp, and comfortable enough for a long session of support removal. They are still soft-plastic tools, and the fine tips can bend if you lever with them rather than cutting. Treat each pair as consumable and this is excellent value.
What's good
- Three pairs — dedicate one to clean work
- Very fine tips for awkward gaps
- Light and comfortable
- Excellent value per pair
What's not
- Fine tips bend if used as a lever
- Soft plastic only
- Not resharpenable
- Handles are plain
 Best single pair
KNIPEX Precision Electronics Flush Cutter
Precision cutters with harder steel and tighter blade alignment than the cheaper pairs, and the difference shows in two places: the cut face is flatter, so there is genuinely less sanding afterwards, and the blades stay aligned over far more cuts rather than gradually drifting apart and starting to crush. The build quality is a step up throughout and the action is noticeably smoother. It is the most expensive here and it is one pair, which means the discipline of not cutting wire with it falls entirely on you. Buy it if you print things where the finish matters and you are willing to keep it separate from every other job on the bench.
What's good
- Flattest cut — least sanding afterwards
- Blades stay aligned over many more cuts
- Smooth, precise action
- Best build quality here
What's not
- One pair, so no rough-work spare
- Most expensive
- Still ruined by cutting wire
- Overkill for functional prints
Snipped support material leaves the cutters at speed and unpredictably — small, hard fragments heading wherever the blade pushed them. Cut with the offcut pointing away from you and other people, cup a hand over the cut where you can, and wear glasses. It is the one genuine injury risk in print finishing and it costs nothing to avoid.
Getting supports off without scarring the part
A few habits that make a large difference to how a finished print looks.
Work while the part is warm if you can. PLA in particular releases supports far more easily just off the bed than it does an hour later.
Cut, do not lever. Levering with the tips is what bends cutters and what tears the surface of the part. If a support will not cut, get the tips further in rather than twisting.
Take supports off in the direction they were built, pulling roughly along the layer lines. Pulling across layers is what lifts a chunk out of the surface.
Leave the last millimetre. Trim the bulk with cutters, then take the remaining stub down with a hobby knife or a light sand. Trying to cut absolutely flush with the surface in one go is how you take a bite out of the part.
Before you buy
Flush or shear, not semi-flush — semi-flush leaves a pip to sand off every time.
Buy at least two pairs and keep one away from wire.
Fine tips matter more than handle comfort for support removal.
Wear eye protection. Offcuts genuinely fly.
Cut, never lever. Levering bends the tips and tears the part.
Flush cutter questions
What is the difference between flush and semi-flush cutters?
Why should I not cut wire with flush cutters?
Do I need expensive flush cutters?
How do I remove supports without damaging the print?
Buy flush or shear cutters, buy more than one pair, and never cut wire with the good one. The Hakko three-pack is the sensible answer for most people — fine tips, and enough pairs that you can keep one pristine. The Xuron is an excellent single first pair with a very clean shear action. The Knipex is worth it if the finish matters and you have the discipline to keep it separate. Wear eye protection, and cut rather than lever.
Ready to actually do it?
The first 3d printing quest takes an evening, and it tells you whether the gear was worth it better than any review can.
Start 3D PrintingThe HobbyStack editorial team researches each guide against manufacturer specifications, published resources and practitioner sources. Every product is checked for availability and described against its current listing before publication, and prices are re-checked when guides are updated.
About our editorial process →More gear guides
All guides
Best Beginner 3D Printer 2026: Bambu A1 vs Ender 3 V3 SE vs P1S Combo
The 3D printer market changed completely in 2024–2025, auto-calibration is now table stakes and the "buy a kit and learn to fix it" era is over. Here's how to pick a first printer that just works, plus the budget pick that actually deserves your money and the premium pick that beats the K1 Max on reliability.
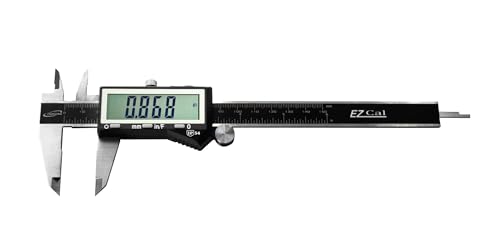
Best Digital Caliper for 3D Printing 2026: iGaging vs Neiko vs Mitutoyo
A digital caliper is the measuring tool that turns 3D printing from guesswork into precision: filament diameter, print dimensions, and the tolerances that make parts fit. The good news: every caliper worth buying resolves finely enough for printing, so the real choice isn't accuracy. It's whether the caliper remembers its zero, survives a dusty workshop, and repeats reliably for years. Here's how the picks stack up.

Best Multimeter for Beginners 2026: AstroAI vs Fluke 101 vs Fluke 117
A multimeter is the first diagnostic tool any electronics or robotics hobbyist needs, it tells you what your circuit is actually doing. The good news for beginners: on the low-voltage DC work most hobbies involve, a $35 meter reads the same as a $380 Fluke. The real decision is about voltage and true-RMS, how much power you're measuring, and whether the AC is a clean sine wave. Here's the honest breakdown.
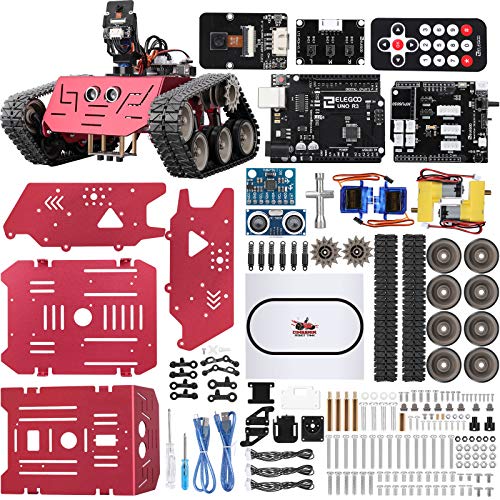
Best Robotics Starter Kit (2026): Build It or Just Code It
Robotics kits split into two philosophies that suit very different people. One gives you loose components and a wiring diagram, so you learn electronics on the way to a working robot. The other gives you a finished robot and asks what you want it to do. Neither is better — but buying the wrong one is the most common way a kit ends up in a cupboard half-built.

Best Laser Engraver for Beginners (2026): Diode to Enclosed
A laser engraver burns designs into wood, leather, acrylic, and slate, and cuts thin materials, all from a design on your computer. For a beginner the two things that matter are power (how thick you can cut) and whether the machine is open-frame or enclosed (safety and mess). Here are three good ones, from an affordable 10W diode to a fully enclosed xTool you can run on the kitchen table.
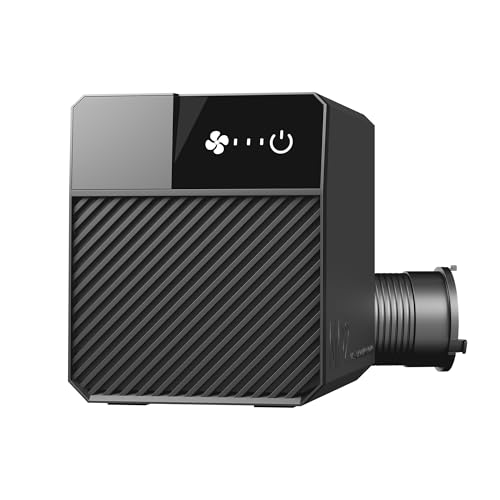
Best Laser Fume Extraction (2026): Ducting Outside Beats Filtering
Cutting anything with a laser vaporises it, and that vapour has to go somewhere. The honest hierarchy is simple and slightly awkward for a buying guide: sending fumes outside through a duct is better than filtering them, and it is also the cheapest option here. Filters are the answer when you have no window, not the upgrade.