
How to Get a Perfect First Layer (Bed Leveling for Beginners)
Most failed 3D prints fail in the first layer. Get that first layer to stick down evenly and the rest usually takes care of itself. Here is how bed leveling and nozzle height make or break your prints.
- The first layer is everything. If it does not adhere evenly, the print warps, detaches, or turns into spaghetti, most failures start here.
- Bed leveling sets the gap between nozzle and bed evenly across the whole plate. Too far and it will not stick; too close and it clogs or scrapes.
- A good first layer looks like slightly squished, smooth lines fused together with no gaps, not round strands (too high) and not translucent scraping (too low).
- Level using paper-drag (or auto-leveling if your printer has it), then fine-tune with the "Z-offset" while watching the first layer print.
- A clean bed matters as much as leveling: grease from fingerprints ruins adhesion. Wipe the plate with isopropyl alcohol.
Why the first layer decides everything
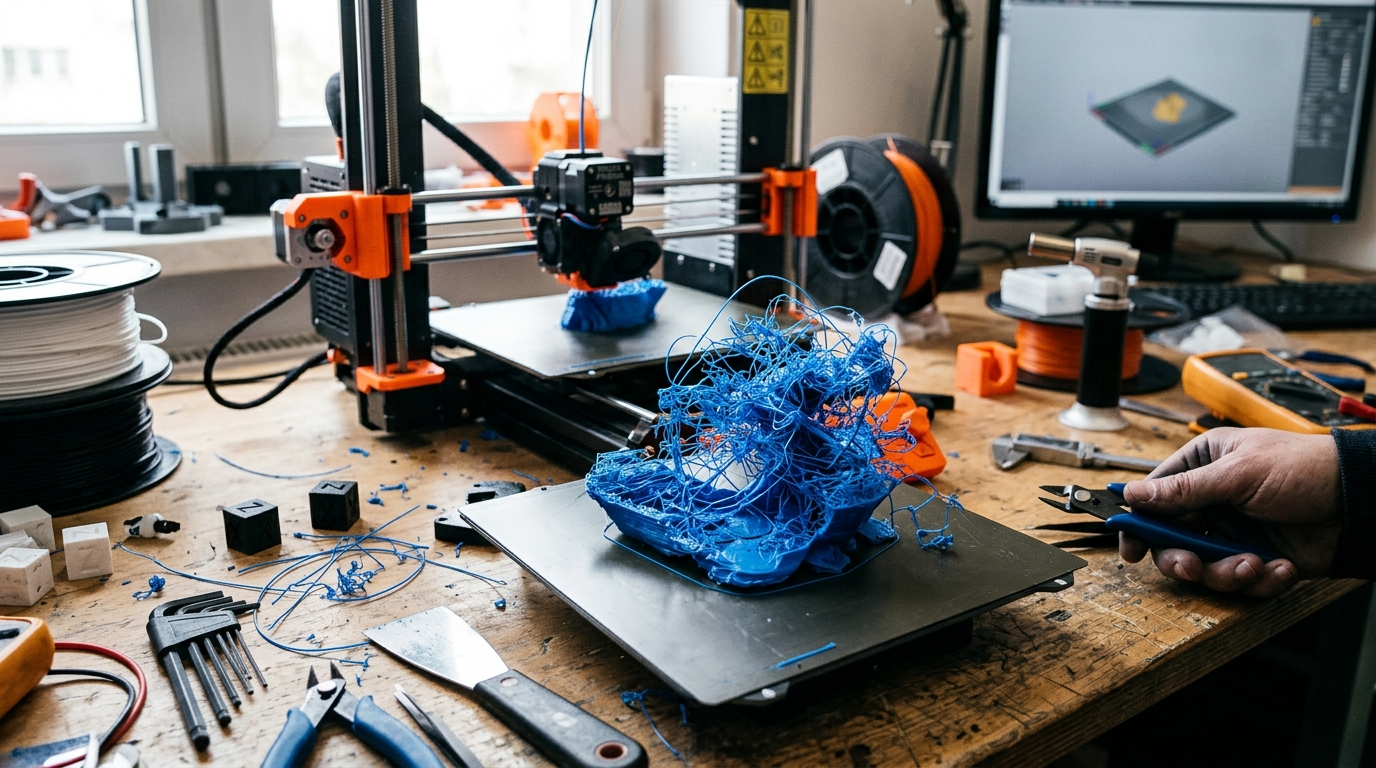
Ask any experienced 3D printer hobbyist why a print failed, and the answer is usually the first layer. The first layer is the foundation the entire print is built on: if it does not stick down flat and evenly to the bed, everything above it is compromised. A first layer that is too high (nozzle too far from the bed) lays down round, poorly-stuck strands that peel up, so the print detaches, warps at the corners, or gets knocked loose into a tangle of stringy "spaghetti." A first layer that is too low (nozzle jammed against the bed) squashes the plastic so hard it will not flow, causing clogs, gaps, and scraped lines. Get the first layer right, evenly squished and firmly adhered, and the print has a solid base to grow from, and the vast majority of your prints will succeed. This is why beginners should spend their effort here first, not on fancy settings.
Leveling the bed and setting nozzle height
"Bed leveling" means making the gap between the nozzle and the bed the same across the entire plate, so the first layer is uniform everywhere. On a manual printer you adjust the wheels/screws at each corner: home the printer, then move the nozzle to each corner and set the gap using the classic paper method, slide a sheet of paper between nozzle and bed and adjust until you feel a slight drag on the paper, not loose, not pinched. Repeat around the bed until every point drags the same. Many newer printers have auto-leveling (a sensor probes the bed and compensates automatically), which makes this much easier, but you still often set the overall nozzle height. That overall height is the "Z-offset": the fine adjustment of how close the nozzle sits to the bed. The real test is to watch the first layer actually print and tweak the Z-offset live, lower it if the lines are round and separated, raise it if the plastic is being scraped thin and translucent, until the lines look right.
Reading a good first layer, and keeping the bed clean
Learning to read the first layer is the core skill. A good first layer is made of lines that are slightly flattened (squished) and fused smoothly into their neighbours with no gaps between them, giving a solid, even surface with a consistent sheen. A first layer that is too high shows separate, rounded strands with visible gaps between the lines, and it will not stick well. A first layer that is too low shows very thin, translucent, or scraped-looking plastic, sometimes with the nozzle digging in and ridges pushing up. You want the happy medium: flat, joined, matte-to-slightly-glossy lines. Beyond leveling, adhesion depends on a clean bed: oils from your fingertips, dust, or old residue stop plastic sticking, so wipe the build plate with isopropyl alcohol before printing and avoid touching the surface. Some materials also want a warmed bed or a bit of glue stick for grip. Nail the leveling, dial the Z-offset by watching the first layer, and keep the plate clean, and "why did my print fail" stops being a constant question.
Print a "first layer test" or a large flat single-layer square before big prints, and watch it go down. Seeing the whole first layer at once makes leveling problems obvious, one corner too high, another scraping, so you can correct the bed or Z-offset before wasting hours on a print that was doomed from the base up.
Common questions
Why do my 3D prints keep failing?
How do you level a 3D printer bed?
What should a good first layer look like?
What is Z-offset in 3D printing?
How do I get prints to stick to the bed?
Gear guides for 3D Printing
The HobbyStack editorial team researches each guide against manufacturer specifications, published resources and practitioner sources. Every product is checked for availability and described against its current listing before publication, and prices are re-checked when guides are updated.
About our editorial process →More guides
3D Print Failures: How to Diagnose and Fix Any Problem
You just pulled a failed print off the bed. Something went wrong, but what? This guide is a visual reference. Find your failure by appearance, follow the cause-and-fix chain, and get back to printing. Every failure is diagnostic information once you know how to read it.

Arduino vs Raspberry Pi: Which to Start Robotics With
Every beginner in robotics hits the same fork: Arduino or Raspberry Pi? They are different kinds of thing, and which you pick shapes your first robot. Here is the real difference and how to choose.