Best Auto-Siphon (2026): Move the Beer Without Moving the Trub
Racking is moving beer off the sediment it has dropped, and there are two ways to ruin it. One is stirring up the trub so it comes with you. The other is splashing, which dissolves oxygen into finished beer and produces a stale, wet-cardboard flavour weeks later. An auto-siphon exists to avoid both, and it costs less than a bag of hops.
HobbyStack may earn a commission from links on this page at no extra cost to you. Our picks are chosen on merit; the commission helps fund the research.
- Oxygen before fermentation is good. Oxygen after fermentation is the enemy.
- An auto-siphon starts with one pump, so no sucking on a tube and no sanitiser to spit out.
- Size it to your batch: the mini for 1-gallon jugs, the full size for 5-gallon carboys.
- Keep the outflow tube at the bottom of the receiving vessel so beer does not splash in.
- Sanitise the inside of the siphon, not just the outside. Solution has to run through it.
 Fermtech Mini Auto-SiphonSmall batches$14Check price
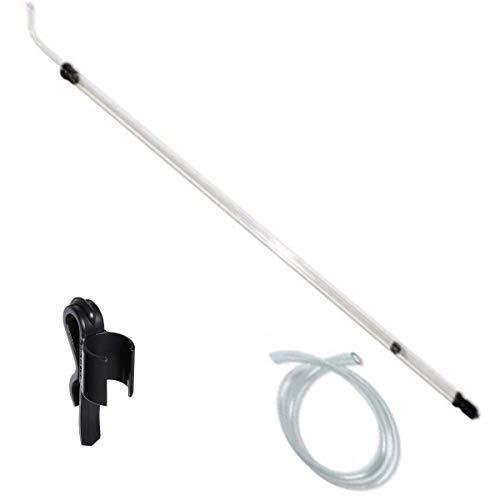 Our pickFermtech Auto-Siphon LargeMost brewers$23Check price
 Stainless Racking CaneSanitation worries$104Check price
Why oxygen is good then bad
The same molecule is essential at one stage and destructive at the next, and the switch happens at pitching.
Before fermentation, yeast needs oxygen. It uses dissolved oxygen to build cell membranes during the growth phase, so aerating cooled wort — splashing it, shaking it, or injecting oxygen — is exactly right and produces a healthy fermentation.
After fermentation, oxygen is the enemy. With no active yeast left to consume it, dissolved oxygen oxidises compounds in the finished beer. The classic result is trans-2-nonenal, which tastes of wet cardboard or stale paper, and it develops over weeks rather than immediately — which is why people taste it in a bottle a month later and cannot work out what happened.
So: splash the wort, never splash the beer.
That single rule explains most racking technique. The outflow tube goes to the bottom of the receiving vessel so beer fills from below rather than falling through air, transfers are done gently, and finished beer is not stirred or poured.
Headspace matters too — a partly full secondary or bottling bucket has a lot of air in it, which is a large part of why long secondary conditioning has fallen out of favour.
How an auto-siphon works, and starting it
A plain racking cane is a rigid tube you have to start by sucking on the hose or by filling it with water, both of which are unpleasant and one of which is unsanitary.
An auto-siphon is a cane inside an outer tube with a one-way valve at the bottom. Pull the inner tube up and push it down once, and that stroke fills the hose and starts the flow. No mouth, no priming water, no sanitiser to spit out.
The anti-sediment tip on the bottom is the other half of the design: it holds the intake slightly above the very bottom of the vessel and diffuses the pull, so you draw beer rather than dragging the trub layer up with it.
Getting a clean transfer: let the fermenter sit undisturbed for a day beforehand so the sediment compacts. Move it to where it will be racked before you start, not after. Put the receiving vessel lower than the source, obviously, and put the outflow tube right to the bottom of it. Then tilt the source gently at the end to get the last of it without dipping into the trub.
Stop earlier than feels wasteful. The last half litre is mostly yeast.
 Best for small batches
Fermtech Mini Auto-Siphon
The 3/8-inch version with a three-foot food-grade vinyl hose, sized for one-gallon jugs — which is exactly right for the small-batch brewing, mead, cider and kombucha that most people actually start with, and wrong for a five-gallon carboy where it will take a long time and struggle to reach. The narrower cane fits through the neck of a gallon jug, where the full-size one does not, and that is genuinely the deciding factor rather than a preference. Same one-pump start and same anti-sediment tip as the larger version. Cleaning is simply running soapy water through, rinsing and air drying. If your batches are gallons rather than five gallons, this is the correct tool and the cheaper one.
What's good
- Fits through a one-gallon jug neck
- One-pump start, no sucking on a tube
- Anti-sediment tip keeps trub out
- Three-foot food-grade hose included
What's not
- Slow and awkward on five-gallon batches
- Short hose limits how you arrange vessels
- Vinyl hose stains and eventually needs replacing
- Plastic, so it scratches and must be treated gently
 Best for most brewers
Fermtech Auto-Siphon Large 1/2"
The standard five-gallon tool, and the one most homebrewers own: half-inch cane with six and a half feet of 7/16 tubing, which is enough hose to put a fermenter on a worktop and a bottling bucket on the floor without stretching. The larger bore moves a five-gallon batch in a sensible time rather than making racking the longest part of the day, and the length reaches the bottom of a standard carboy or bucket. One pump starts it, the anti-sediment tip keeps the trub where it belongs. It is the right default unless you brew gallon batches. Two honest limits: it is plastic, so scratches are places sanitiser cannot reach and it should be replaced when scuffed, and the long hose needs proper cleaning through rather than a rinse.
What's good
- Half-inch bore moves five gallons quickly
- 6.5ft hose reaches worktop to floor
- The size most homebrew equipment assumes
- One-pump start with an anti-sediment tip
What's not
- Too large for one-gallon jug necks
- Plastic scratches, and scratches harbour infection
- Long hose needs cleaning through, not rinsing
- Vinyl hose stains over time
 Best for sanitation
304 Stainless Steel - Auto Siphon Racking Cane Easy Jiggler
A 304 stainless racking cane, and the argument for it is the one real weakness of every plastic siphon: plastic scratches, scratches are places cleaner cannot reach and organisms can, and a scuffed plastic siphon is a recurring infection risk that no amount of sanitiser fixes. Stainless does not scratch the same way, tolerates hot caustic cleaning that would craze plastic, and lasts indefinitely rather than being a consumable. If you have chased an infection round a brewery and want to eliminate a suspect permanently, this is how. The honest position: it is eight times the plastic version, it does the same job, and most homebrewers get on perfectly well by simply replacing a plastic siphon when it looks scuffed.
What's good
- Stainless does not scratch and harbour infection
- Tolerates hot caustic cleaning
- Lasts indefinitely rather than being a consumable
- Eliminates one suspect when chasing an infection
What's not
- Eight times the plastic version for the same job
- Replacing a scuffed plastic siphon is far cheaper
- Heavier and less forgiving in a glass carboy
- Overkill unless you have had infections
Before fermentation, aerating the wort is exactly right — yeast needs oxygen to build cell membranes. After fermentation there is no yeast left to consume it, and dissolved oxygen produces trans-2-nonenal, which tastes of wet cardboard and shows up weeks later in the bottle. Put the outflow tube at the bottom of the receiving vessel so beer fills from below rather than falling through air.
Cleaning a siphon, which is where infections live
A siphon is a long narrow tube that has had sugary liquid standing in it, which is close to a worst case for cleaning.
Run cleaner through it immediately. Not later, not after the washing up. Dried wort inside a hose is very hard to shift and impossible to see.
Sanitise the inside, not just the outside. Solution has to actually flow through the cane and the full length of the hose. Standing the siphon in a bucket of sanitiser does nothing to the bore.
Replace hose when it stains or goes cloudy. Vinyl tubing is cheap, it absorbs and holds residue, and it is a false economy to keep a hose that has gone opaque.
Watch for scratches on plastic parts. Any scratch is a refuge. A scuffed plastic siphon is worth replacing rather than scrubbing.
Dry it properly. Standing water in a hose is somewhere for things to grow between brew days. Hang it or run air through it.
Almost every mystery infection in homebrewing turns out to be tubing, a scratched bucket, or a tap that was never taken apart.
Before you buy
Match the size to your batch. The mini will not do five gallons happily.
Check the hose length reaches from your worktop to the floor.
Outflow tube to the bottom of the receiving vessel, every time.
Let the fermenter settle undisturbed for a day before racking.
Replace stained hose and scuffed plastic. Both hide infection.
Auto-siphon questions
Why is oxygen bad after fermentation but good before?
How do I start an auto-siphon?
What size auto-siphon do I need?
How do I clean an auto-siphon?
Buy the full-size Fermtech if you brew five-gallon batches and the mini if you brew gallons — the cane physically will not fit a one-gallon jug neck, so this is sizing rather than preference. The stainless cane solves the one real weakness of plastic, which is that scratches harbour infection, but replacing a scuffed plastic siphon costs an eighth as much and works. Whichever you use: outflow tube to the bottom, and never splash finished beer.
Ready to actually do it?
The first homebrewing quest takes an evening, and it tells you whether the gear was worth it better than any review can.
Start HomebrewingThe HobbyStack editorial team researches each guide against manufacturer specifications, published resources and practitioner sources. Every product is checked for availability and described against its current listing before publication, and prices are re-checked when guides are updated.
About our editorial process →More gear guides
All guides
Best Bottling Wand (2026): Fill to the Brim, Then Let It Drop
A bottling wand looks like a length of tube with a valve on the end, and the clever part is what happens when you lift it out. You fill the bottle right to the brim, and withdrawing the wand removes exactly its own volume, leaving the correct headspace every time without measuring anything.
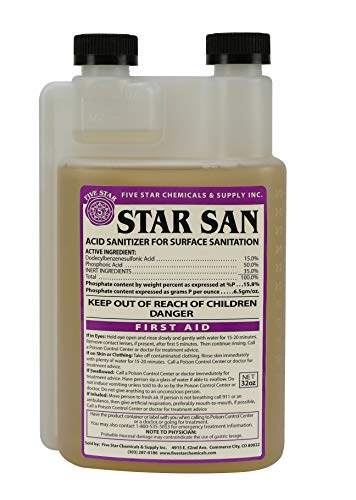
Best Brewing Sanitizer (2026): Clean First, Then Sanitise
More homebrew is ruined by infection than by any mistake in the recipe, and almost all of it traces back to one misunderstanding: cleaning and sanitising are two separate steps, and sanitiser does nothing on a surface that is not already clean. The good news is that the standard product costs very little and works in thirty seconds.

Best Brewing Thermometer (2026): Two Degrees Changes the Beer
Mash at 150°F and you get a dry, crisp beer. Mash at 156°F and you get a fuller, sweeter one from exactly the same grain bill. That is a six-degree window deciding the character of the finished beer, which makes an accurate thermometer less of an accessory than a recipe ingredient.

Best Beginner Winemaking Kit 2026: Craft a Brew vs North Mountain vs Master Vintner
Good news first: making wine at home is more forgiving than it sounds, and you don't need a cellar or a chemistry degree to end up with something you'd actually pour for a friend. A starter kit gives you the gear to ferment, rack, and bottle, and you supply the juice or fruit and a little patience. The catch nobody mentions is that "kit" means two different things. Some are all-in-one boxes with the juice included so you can start tonight, and some are just the reusable equipment that expects you to bring your own ingredients. This guide sorts out which is which, and picks three genuinely good ones: the easiest way to try it, the best gear for most beginners, and the full-size rig to grow into.

Best Pot for Cheese Making (2026): Milk Scorches Where the Pan Is Thin
Milk is unforgiving in two specific ways. It reacts with bare aluminium and copper, which taints the curd and discolours the pan, and it scorches wherever the base has a hot spot — and once a batch has caught, the whole thing tastes of it. Both problems are solved by the same purchase, and neither is solved by watching more carefully.
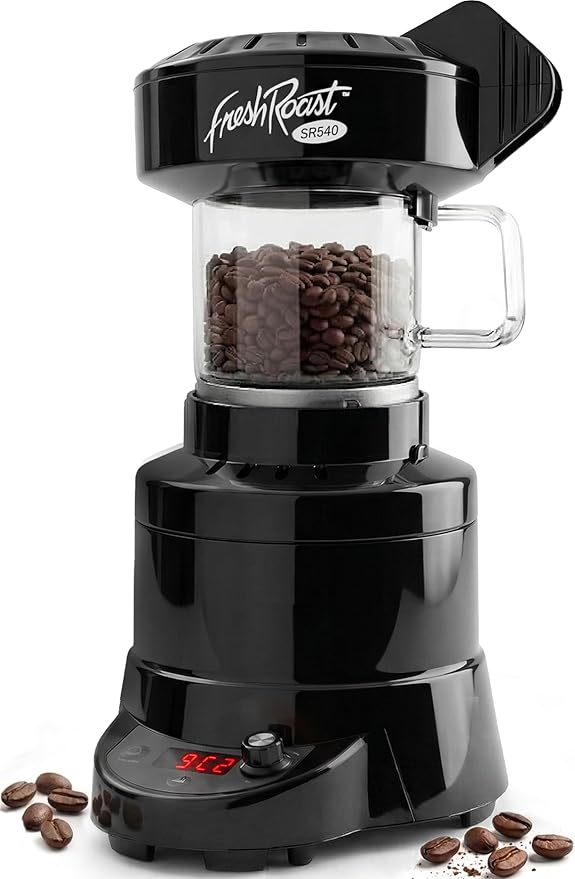
Best Beginner Home Coffee Roaster 2026: Nuvo vs Fresh Roast SR540 vs Behmor 1600
Home roasting is one of those rare hobbies where the result is measurably better than what you can buy. Get the right roaster and you'll drink the best coffee of your life within a month.