Best Fermentation Airlocks and Weights (2026): Under the Brine, Out of the Air
Vegetable fermentation asks for two things at once that sound contradictory: carbon dioxide has to get out, and oxygen must not get in. Every failure — the fuzzy white bloom, the soft mushy cabbage, the jar that pushed its lid off overnight — traces back to one of those two, and both are solved by about fifteen pounds of silicone and glass.
HobbyStack may earn a commission from links on this page at no extra cost to you. Our picks are chosen on merit; the commission helps fund the research.
- CO2 out, oxygen in is the whole problem. An airlock lets one happen and not the other.
- Everything must stay under the brine. Anything above it will mould.
- Waterless silicone valves need no topping up and cannot dry out. Water airlocks can.
- Kahm yeast is a harmless white film. Fuzzy coloured mould is not — throw that jar away.
- These are components. If you have no jars, a kit is the better first purchase.
 Glass Fermentation Weights, 2-packKeeping it submerged$10Check price
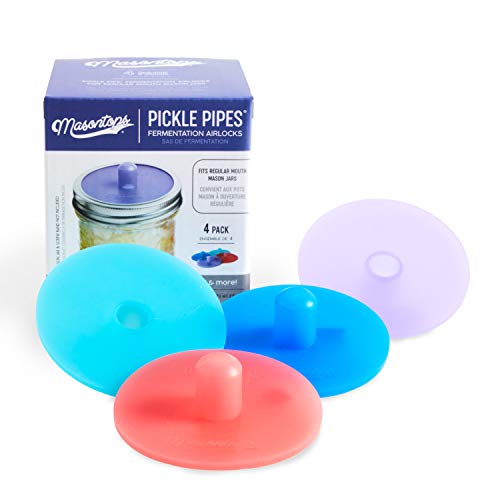 Our pickMasontops Pickle PipesMost fermenters$22Check price
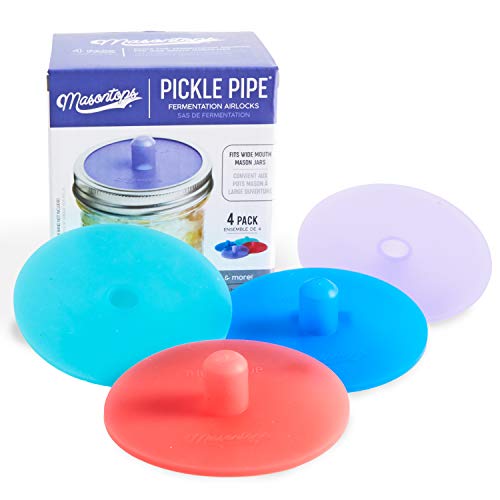 Masontops Pickle Pipes, larger setSeveral jars at once$24Check price
What an airlock is actually for
Lacto-fermentation is anaerobic. The lactobacillus bacteria that turn cabbage into sauerkraut work without oxygen, produce lactic acid that drops the pH and preserves the vegetables, and give off carbon dioxide as they go.
That CO2 is a problem in a sealed jar. Pressure builds fast in the first few days, and a genuinely sealed jar will either push its lid off or, with a clamped lid, crack. People do burp jars manually, and it works right up until the day they forget.
But simply leaving the lid loose invites the other problem: oxygen. Air on the surface is what lets mould and film yeasts establish, because they are aerobic and the lactobacillus underneath is not competing with them up there.
An airlock resolves both. It is a one-way valve: CO2 escaping from below has enough pressure to open it, and air outside cannot push back in.
The traditional design uses a water trap — gas bubbles out through a small reservoir of water, and air cannot come back through the liquid. The modern alternative is a silicone valve that opens under pressure and seals flat otherwise, which is what the Pickle Pipes here are.
Waterless valves against water airlocks
Both work. They fail differently, and that is the decision.
Water airlocks are cheap, and you can see fermentation happening as bubbles pass through — which is genuinely useful reassurance for a beginner. They also evaporate. A three-week ferment in a warm kitchen can dry its airlock out, at which point it is just a hole, and nobody checks. They are also taller, so jars will not stack or fit under a shelf, and the water needs changing between batches.
Waterless silicone valves need no water, no topping up and no maintenance at all, and they cannot dry out and silently stop working — which is the failure mode that actually costs people batches. They are low profile, so jars stack and store in a cupboard. They are one piece, so there is nothing to lose and they go in a dishwasher.
What you give up is the visible bubbling, which is a real loss when you are learning, and they are dearer per jar.
One practical note: airlock lids are made for a specific mason jar mouth size. The Pickle Pipes here are the small-mouth version. Check which your jars are before ordering, because they are not interchangeable.
 Best for staying submerged
Glass Fermentation Weights
Two heavy glass weights at about 7 ounces each, and this is the half of the problem an airlock does not solve. Vegetables float — cabbage especially — and anything that rises above the brine is exposed to whatever air is in the headspace, which is exactly where mould establishes. A weight holds the whole ferment under, and mass is what matters, so these being genuinely heavy rather than token is the point. Glass is the right material: inert, so it cannot react with an acidic brine the way some metals and plastics can, and easy to sterilise. Two is enough for two jars, and they work with a water airlock or a silicone valve equally. On their own they are not an airlock, so this is half a setup rather than a cheap alternative.
What's good
- Heavy enough at 7oz to actually hold cabbage down
- Glass is inert in an acidic brine
- Works with any lid or airlock system
- Easy to sterilise and reuse indefinitely
What's not
- Not an airlock — only half the problem
- Two only, so two jars
- Glass chips if knocked against a jar rim
- No handle, so awkward to lift out of brine
 Best for most fermenters
Masontops Pickle Pipes - Airlock Fermentation Lids
A one-piece silicone lid with a waterless one-way valve that vents CO2 automatically and lets nothing back in — no water to top up, no burping, no maintenance, and crucially nothing that can silently dry out and stop working three weeks into a ferment, which is how water airlocks lose batches. The low profile matters more than it sounds: jars stack and fit in a cupboard rather than needing headroom for a tall airlock, so you can run several ferments in a normal kitchen. Food-safe silicone, BPA-free and free of phthalates, and dishwasher safe with the jars. Fits small mouth mason jars, and the jars are not included. What you lose against a water airlock is the visible bubbling that tells a beginner it is working.
What's good
- Waterless valve — nothing to top up or dry out
- One piece, so nothing to lose or assemble
- Low profile, so jars stack in a cupboard
- Food-safe silicone, dishwasher safe
What's not
- No visible bubbling to reassure a beginner
- Small mouth jars only — check yours
- Jars not included
- Dearer per jar than a water airlock
 Best for several jars
Masontops Pickle Pipes - Airlock Fermentation Lids
The same Pickle Pipes design in a larger set, and it is worth being straightforward that this is quantity rather than a different or better product — identical waterless silicone valve, identical low profile, identical materials. The case for it is that fermentation goes in one direction: people start with one jar of sauerkraut and within a couple of months have kraut, kimchi, pickles and something experimental going at once, because each takes weeks and you want the next one started before the last is finished. Having enough lids to run several jars in parallel is what makes that practical, and the price difference over the smaller set is small. If you are trying this for the first time, buy the smaller set; if you already know you will keep going, buy this.
What's good
- Enough lids to run several ferments in parallel
- Same proven waterless valve design
- Small price step over the smaller set
- Fermentation naturally expands to several jars
What's not
- Identical product, just more of it
- Too many lids for a first attempt
- Same small-mouth jar restriction
- Still no visible bubbling
A flat, wrinkled, white or cream film on the surface is usually kahm yeast — harmless, a bit sour-smelling, and you can skim it off and carry on. Anything fuzzy, raised, or coloured green, black, pink or blue is mould, and because its filaments reach well below what you can see, the whole jar goes. Do not skim mould and eat the rest, and do not scale that judgement by how much you like the batch.
Brine, salt and temperature
The equipment prevents the two failure modes. These three decide whether the result is any good.
Salt concentration is the main control. Around 2% of the weight of the vegetables is the usual starting point for sauerkraut and most vegetable ferments. Too little and it ferments fast and goes soft, because the pectin-degrading organisms are not held back. Too much and the lactobacillus is slowed as well and the ferment stalls. Weigh, do not guess.
Everything under the brine, which is what the weight is for. Cabbage salted and packed will make its own brine within a day; firmer vegetables need brine added.
Temperature decides pace and flavour. Cool, around 18°C, ferments slowly and gives a more complex result. Warm, above about 24°C, is fast and often mushier and one-dimensional. A cupboard is better than a windowsill.
Time is a taste question, not a rule. Sauerkraut is edible at a week and better at four. Taste it as you go, and refrigerate when you like it — cold does not stop fermentation, it slows it right down.
Before you buy
Check your jar mouth size. Wide and small mouth lids are not interchangeable.
Buy weights as well as an airlock. They solve different halves of the problem.
Waterless if you forget things; water airlocks if you want to see it bubbling.
Salt by weight, around 2% of the vegetables.
If you own no jars, a complete kit is the better first purchase.
Fermentation airlock questions
Do I need an airlock to ferment vegetables?
Waterless valve or water airlock?
Why do I need fermentation weights?
There is white film on my ferment — is it ruined?
Buy Pickle Pipes and a set of glass weights together — they solve different halves of the same problem, and one without the other still loses batches. The waterless valve is the right choice for most people because it cannot dry out and quietly stop working three weeks in, which is how water airlocks fail. Take the larger set if you already know you will run several jars. And check your jar mouth size before ordering, because the lids are not interchangeable.
Ready to actually do it?
The first fermentation quest takes an evening, and it tells you whether the gear was worth it better than any review can.
Start FermentationThe HobbyStack editorial team researches each guide against manufacturer specifications, published resources and practitioner sources. Every product is checked for availability and described against its current listing before publication, and prices are re-checked when guides are updated.
About our editorial process →More gear guides
All guides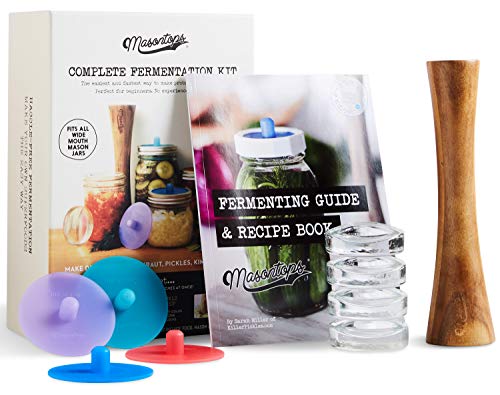
Best Fermentation Kits for Beginners (2026)
Fermenting vegetables at home: sauerkraut, kimchi, pickles, needs surprisingly little: a container that keeps air out, a way to hold the vegetables under the brine, and salt. A kit bundles that so your first batch turns tangy and safe instead of moldy. Here are three, from a cheap mason-jar kit to a traditional crock.

Best Kombucha Starter Kits for Beginners (2026)
Brewing kombucha at home is mostly patience plus one live culture (a SCOBY) and a big jar. A kit bundles the fiddly parts: the culture, the right jar, a way to check temperature and acidity, so your first batch actually ferments instead of growing something you will be scared to drink.
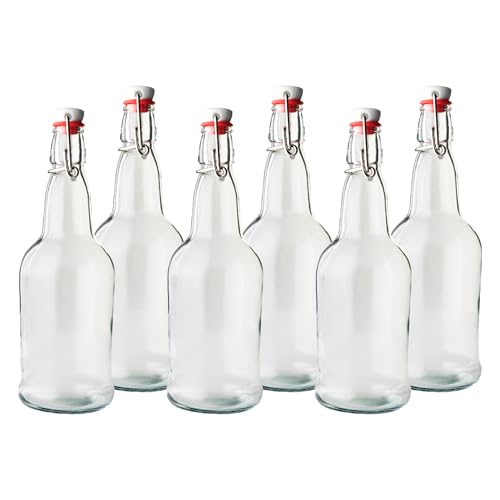
Best Kombucha Bottles (2026): Second Fermentation Builds Real Pressure
Second fermentation is the stage that puts the fizz in kombucha, and it works by trapping the carbon dioxide yeast produces inside a sealed bottle. That is genuinely a pressure vessel sitting on your worktop, and the wrong bottle is the reason people find glass in the ceiling.

Best Pot for Cheese Making (2026): Milk Scorches Where the Pan Is Thin
Milk is unforgiving in two specific ways. It reacts with bare aluminium and copper, which taints the curd and discolours the pan, and it scorches wherever the base has a hot spot — and once a batch has caught, the whole thing tastes of it. Both problems are solved by the same purchase, and neither is solved by watching more carefully.
Best Chef's Knife (2026): The Only Knife Most Kitchens Need
A chef's knife does perhaps ninety percent of the cutting in a kitchen, which is why it is the one knife worth thinking about and why a block of ten is mostly storage. The choice comes down to a single trade that nobody explains at the counter: harder steel holds an edge longer and chips more easily, softer steel dulls faster and forgives almost everything.

Best Dutch Oven (2026): A Camp Oven and a Kitchen Pot Are Not the Same Thing
Two very different pots share the name. One has three legs and a flanged lid built to hold burning coals on top, and it is what historical recipes assume. The other is a smooth enamelled casserole for a hob and an oven. Buy the second and try to cook over a fire with it and nothing will work the way the recipe says.